
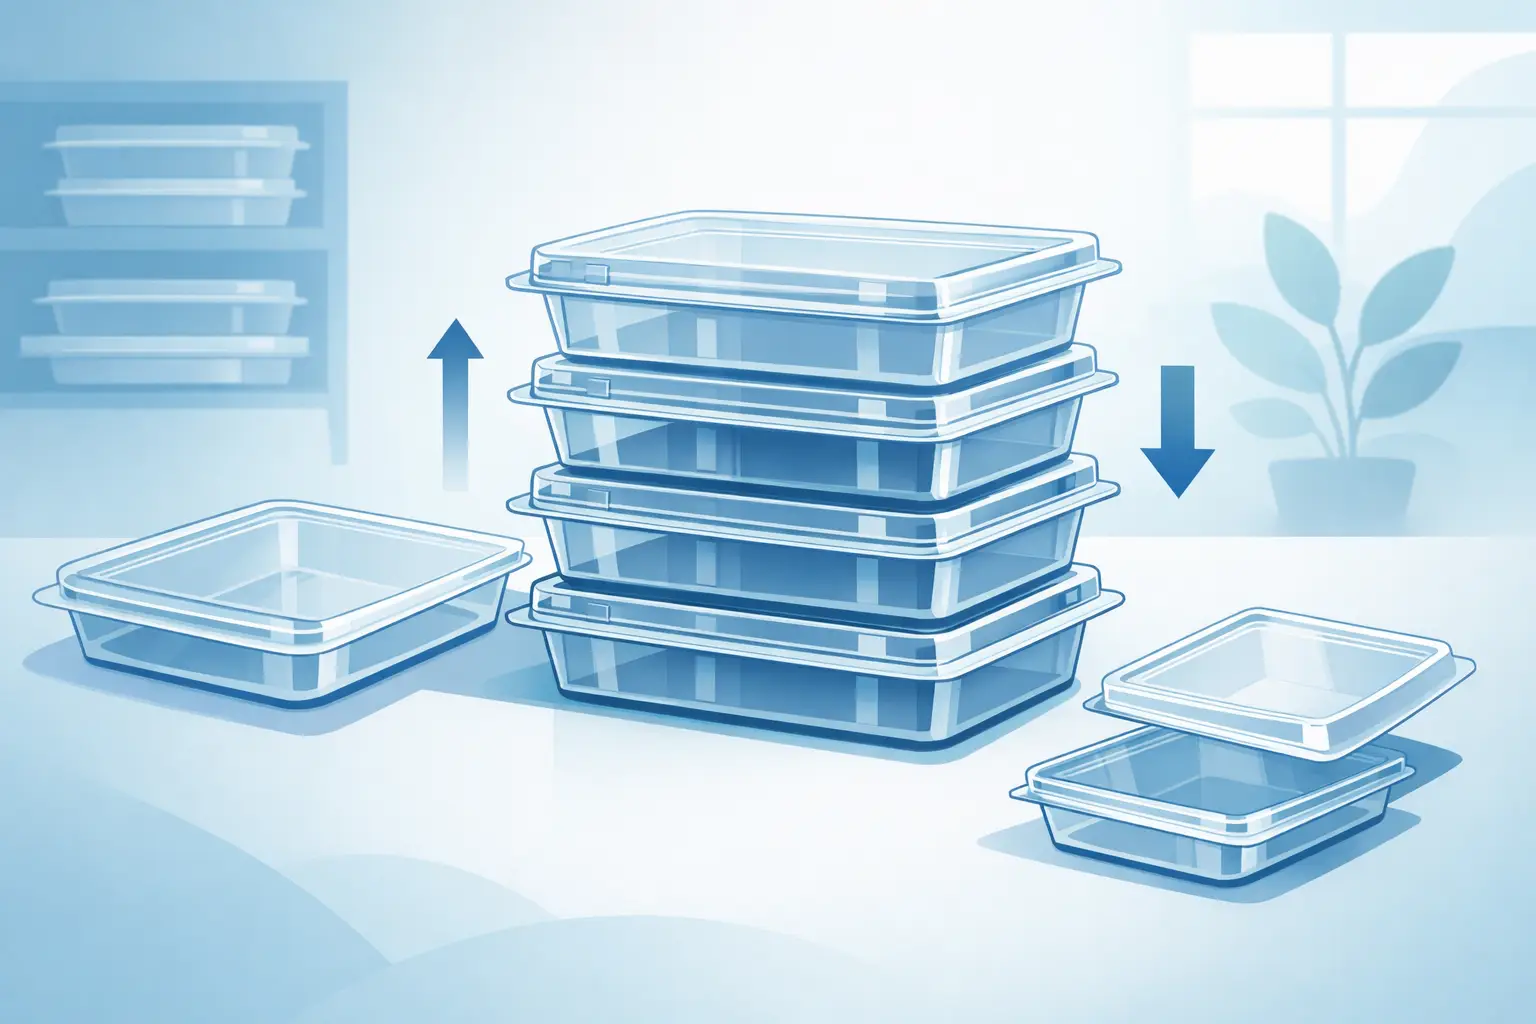
A stack of clear lid trays can save space or create daily frustration. The difference usually comes down to how they are loaded, where they are stored, and whether the tray and lid are being treated as one unit or two separate parts. If you are working out how to stack clear lid trays in a butcher shop, bakery, supermarket, catering kitchen or institutional setting, the goal is simple – protect presentation quality while keeping handling fast and safe.
Clear lid trays are often chosen because they do two jobs at once. They protect product and keep contents visible. That visibility is valuable in commercial environments, but it also means poor stacking habits show up quickly. Scuffed lids, warped edges, unstable piles and trapped moisture all affect appearance and day-to-day use.
How to stack clear lid trays without damage
The first rule is to stack like with like. Trays of different footprints, rim depths or lid profiles should not be forced into the same pile, even if they look close enough. A mixed stack tends to lean, put uneven pressure on corners and create friction between lids. Over time, that leads to marks, cracked edges or lids that no longer sit cleanly.
When trays are designed to stack, use the stacking points built into the shape of the product. That usually means the tray base sits on the rim or shoulder of the tray below, rather than pressing directly onto the centre of the clear lid. If weight is bearing down on the lid panel itself, the stack is not set correctly. In a busy prep room or service area, that mistake often happens because staff are moving quickly and only checking whether the trays stay upright. Stability matters, but so does where the load is sitting.
It also helps to decide early whether you are stacking assembled trays with lids attached, or nesting trays and lids separately. For short-term handling and display replenishment, assembled stacking can make sense because it speeds up movement from cool room to cabinet or bench. For longer storage, separating components may reduce pressure on the lid surface and make better use of shelf space. There is no single answer for every workplace. It depends on how often stock turns over and how far trays need to travel before use.
Start with a clean, dry tray
Stacking begins before the first tray goes on the pile. If the tray rim or lid lip is wet, greasy or carrying crumbs, the stack becomes less stable straight away. Moisture can also create suction between surfaces, which makes trays harder to separate quickly during service. In food environments, that slows staff down and increases the chance of lids being bent or dropped during removal.
A clean, dry contact surface gives you a more consistent stack and helps keep lids clear for presentation. That matters in display settings where the tray is part of the product experience, not just a handling item.
Keep the lid aligned before stacking
A clear lid that is only half seated may seem fine when one tray is sitting on a bench. Add four or five more on top and the pressure shifts. Corners can lift, rims can twist slightly and the whole stack becomes awkward to carry. Before adding another tray, make sure the lid is properly aligned and sitting evenly around the tray edge.
This is especially important where staff pre-pack items for chilled display or transport. A tray that looks closed at a glance may still be sitting unevenly. Taking a second to check fit saves time later.
Storage, transport and display each need a different approach
One common mistake is using the same stacking method for every stage of handling. Storage, transport and display replenishment place different demands on the tray.
For back-of-house storage, vertical load is the main issue. You want a stack height that saves space without putting too much weight on the bottom trays. In most operations, lower and more stable stacks are better than tall stacks that need constant adjustment. The exact limit depends on tray size, material thickness, whether the trays are empty or loaded, and how often the stack is moved.
For transport, movement becomes the problem. A stack that is fine on a shelf may shift in a van, trolley or mobile rack. If trays are travelling between prep and service points, they need firm, even placement and support around the base. Sudden stops and cornering will test a stack more than static storage ever will.
For front-of-house display use, speed of access matters most. Staff need to separate trays cleanly, replace stock quickly and keep presentation tidy. In that setting, over-stacking is usually false economy. Saving a little bench or shelf space is not worth lids that stick together or stacks that need two hands and extra care every time they are handled.
How to stack clear lid trays for commercial efficiency
If your team handles trays across multiple shifts, consistency matters more than individual preference. The most efficient approach is one that can be repeated by every staff member with minimal guesswork.
Set a standard for stack height based on the tray size and use. Smaller trays may safely stack higher than large platters or deeper display units, but the decision should come from practical handling, not just storage capacity. If the bottom tray is difficult to remove, the stack is probably too high. If staff need to brace the pile with one hand while lifting with the other, the stack may be stable on paper but not in real operation.
It is also worth assigning a dedicated storage position for each tray format. When trays and lids are returned to random shelves or mixed with other serving and displayware, stacks become inconsistent and damage risk goes up. A clear storage system cuts down handling errors and makes stock checks quicker.
Where possible, avoid stacking near heat sources or in areas with direct sun exposure. Even durable food-grade products perform best when stored under stable conditions. Excess heat can affect shape over time, particularly if trays are under load for extended periods.
Separate heavy-load and light-load applications
Not every clear lid tray is doing the same job. A tray carrying lighter bakery goods behaves differently from one loaded with dense meats, prepared meals or bulk service portions. Loaded trays should never be stacked based only on how many empty trays fit comfortably together.
The trade-off is simple. A taller loaded stack might save room in the short term, but it increases pressure on the lower tray rims and lids, and it makes safe lifting harder. In commercial settings, that usually means more handling damage and slower service.
Train for removal as well as stacking
Most tray damage happens during separation, not while the stack is sitting still. Staff may pinch one corner, pull a lid sideways or drag one tray across another. That creates scratches and stress on the edges.
A better method is to lift cleanly from stable points, keeping the tray level as it comes away. If stacks are regularly hard to separate, the problem is rarely the tray alone. It is usually a sign that stacks are too high, surfaces are not fully dry, or different formats have been mixed together.
Common stacking mistakes to avoid
The biggest issue is assuming all clear lid trays can be treated the same way. In practice, dimensions, rim shape, lid fit and load weight all matter. A tray that stacks neatly when empty may not perform the same once packed and chilled.
Another frequent mistake is letting heavier items sit on top of lighter or more delicate contents simply because the trays are the same size. Even if the stack remains upright, product presentation can suffer. In retail display, that can be as much of a problem as tray damage.
Poor shelf surfaces also cause trouble. If the storage area is uneven, damp or cluttered, even a well-designed stack will become unstable. The tray can only perform as well as the handling environment around it.
Finally, do not ignore wear. If lids are heavily scratched, edges are chipped, or trays no longer seat properly, stacking performance will drop. Replacing worn units early usually costs less than dealing with avoidable breakage, messy displays or slow service.
Choosing trays that stack well from the start
Good stacking begins with product selection. Commercial buyers should look for trays and lids made for repeat daily use, with dependable fit, durable food-grade construction and a shape that supports stable stacking rather than makeshift balancing. BPA Free materials, Drop Proof performance and Australian Made consistency are not just selling points – they affect how well trays hold up across storage, transport and display cycles.
This is where a specialist range makes a difference. Products designed for commercial cabinets, prep areas and service environments are more likely to stack predictably because they have been built for exactly that kind of use.
A clear lid tray should work hard without becoming another handling problem. Stack it cleanly, keep loads sensible, and match your method to the job at hand. A well-managed stack protects the tray, the product and the pace of your operation.